How to Use drill as sander! To use a drill as a sander, attach a specific sanding accessory to the drill chuck. This transforms the drill into an effective sanding tool.
Crafting and woodworking projects often require versatile tools; a drill can double as a sander with the right attachment, saving space and money. Sanding bits, disc sanders, drum sanders, and sanding drums are some common attachments that enable a drill to sand different materials smoothly.
These attachments come in various grits and sizes, catering to diverse sanding needs, from rough shaping to fine finishing. This adaptability makes a drill an essential tool for DIY enthusiasts and professionals alike, streamlining their toolkit without compromising on functionality. By leveraging a drill’s rotational power, one can efficiently sand down surfaces, edges, and corners, ensuring a polished end product.

Credit: m.youtube.com
Transforming A Drill Into A Sander
Turning an ordinary drill into a sander unlocks new potential for DIY enthusiasts. With the right attachment, a drill can serve dual purposes, drilling and sanding with ease. This transformation allows for efficient and cost-effective work on wood, metal, and plastic surfaces.
Choosing The Right Sanding Attachment
The key to effective sanding with a drill is selecting the appropriate attachment. Consider the material and the type of finish required. Sanding attachments come in various forms, including sanding drums, flap wheels, and disc sanders.
- Flap Wheels: Perfect for detailed work and irregular shapes.
- Sanding Discs: Ideal for flat surfaces and edge work.
- Sanding Drums: Suitable for both flat and curved areas.
Check the attachment’s compatibility with your drill model and ensure it matches your project’s demands.
Step-by-step Attachment Process
- Ensure the drill is turned off and unplugged before attaching any sanding accessory.
- Open the drill’s chuck and insert the attachment’s shank, then tighten the chuck securely.
- If using a sanding disc, attach the backing pad to the drill and then adhere the sanding disc to the pad.
- Recheck the attachment for firmness to prevent wobbling.
- For optimal use, adjust the drill’s speed according to the sanding task at hand.
Once attached, the drill is ready to tackle your sanding projects with precision and speed.
Types Of Sanding Applications
Repurposing tools is a crafty way to save money and space in your workshop. A versatile tool like a drill can double as a sander, suitable for various sanding applications. Understanding what your project needs is essential. Let’s explore how to use a drill for different sanding tasks.
Flat Surface Sanding
Sanding flat surfaces requires consistency and precision for a smooth finish. Drills offer a quick and easy solution.
- Attach a sanding disc to your drill.
- Keep the drill at a low speed for control.
- Move in uniform strokes to avoid gouges.
| Material | Grit Type | Technique |
|---|---|---|
| Wood | Medium-Fine | Linear Strokes |
| Metal | Fine-Extra Fine | Circular Motions |
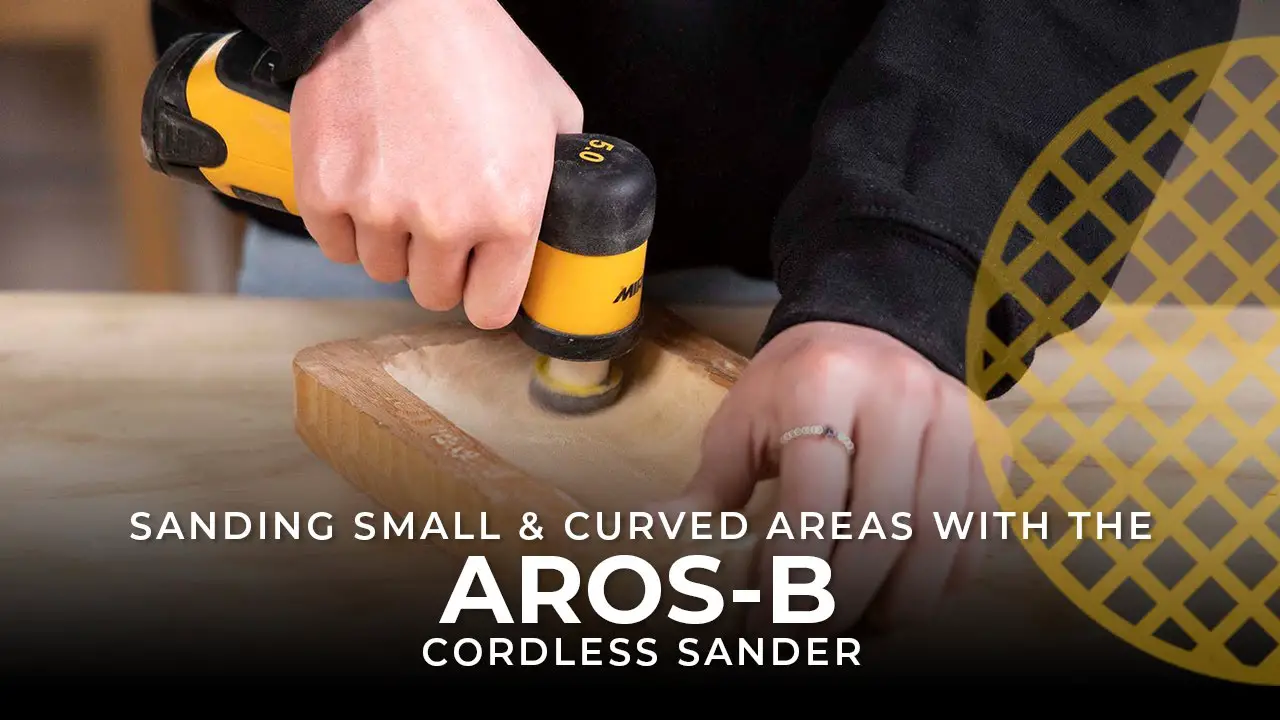
Curved Edges And Corners
Curved spaces challenge standard sanders. A drill comes into play with its ability to reach tight spots.
- Fit a sanding band over a drum attachment.
- Control the drill speed to match the curve’s complexity.
- Sand with gentle pressure to shape edges.
Diy Sanding Tools And Tricks
Discover clever ways to convert your regular drill into a powerful sanding tool. These easy DIY methods require minimal tools and can save you both time and money. Enhance your woodworking and crafts with these innovative approaches.
Making A Sanding Jig For Drills
Create a simple jig to hold sandpaper in place while using your drill. This jig can be flat or cylindrical, matching your project’s needs. Here are steps for a flat sanding pad:
- Cut a small wooden block to fit the drill’s front.
- Attach velcro to one side of the block.
- Stick a corresponding velcro sanding sheet on top.
This jig allows you to swap out sanding sheets quickly, increasing efficiency.
Creating A Recess For Secure Fit
A snug fit prevents the sanding pad from slipping. Follow these steps:
- Select a wooden block slightly larger than your drill’s head.
- Mark the drill’s outline on the block.
- Use a chisel to carve a shallow recess inside the marked area.
This recess will hold the pad firmly against the drill front.
Credit: www.architecturaldigest.com
Practical Tips For Efficient Sanding
Transforming a drill into a sander unlocks a world of DIY potential. Get ready to smoothen surfaces with these practical sanding tips.
Applying the Correct Pressure
Applying The Correct Pressure
Consistent applied force is vital for an even finish. Here’s how to master the pressure:
- Start Light: Begin with a soft touch to gauge the effect.
- Feel the Feedback: Your drill will resist if pressure is too high.
- Maintain Balance: Evenly distribute pressure to avoid gouges.
| Pressure | Outcome |
|---|---|
| Low | Gradual removal |
| Medium | Consistent sanding |
| High | Potential damage |
Selecting the Optimal Sanding Grades
Selecting The Optimal Sanding Grades
Choose the right sandpaper grit size for best results:
- Coarse Grits (40-60): For removing paint or varnish.
- Medium Grits (80-120): For initial smoothing.
- Fine Grits (150-220): For final finishing touches.
Pro Tip: Always begin with a coarser grain and work toward finer grits for a polished look.
Safety Precautions And Maintenance
Using a drill as a sander can save time and space in your workshop. Before we dive in, it’s critical to understand safety precautions and proper maintenance. This will ensure your DIY sander works effectively and lasts longer. Stick to these tips to stay safe.
Proper Handling And Clamping
Always handle your drill and the sanding attachment with care.
Make sure the drill is switched off when fitting the sander attachment.
Use clamps to secure the material you’re sanding. Never hold the workpiece with your hand while sanding. This prevents accidental slips that could cause injury.
- Wear safety glasses and a dust mask.
- Check the sanding attachment is secure before starting.
- Keep your hair and loose clothing away from the rotating parts.
Cleaning And Caring For Your Diy Sander
Keep the drill and attachment clean for best performance. After sanding, remove dust and debris from the drill and sander attachment.
Store your DIY sander in a dry, safe place when not in use.
Regular maintenance extends its life. Check for wear and tear often.
| Check | Action |
|---|---|
| Sanding disc | Replace when worn out |
| Attachment screws and bolts | Tighten them regularly |
| Drill’s power cord (if any) | Inspect for frays or damage |
| Drill’s battery (if cordless) | Ensure it’s charged and clean |
Credit: scrollsawer.com
Comparing Drill Sanders With Traditional Sanders
The ingenuity of the DIY world brings us the ‘drill sander’ – a creative way to turn a regular drill into a sanding machine. But how does a drill with a sanding attachment stack up against a traditional sander? This blog dives into the comparison, focusing on performance, versatility, and their pros and cons for DIY projects.
Performance And Versatility
Drill sanders offer unique benefits in the realm of handy power tools.
- Suitable for small, intricate sanding jobs
- Can reach narrow and tight spaces
- Adjustable speed gives control over the sanding process
In contrast, traditional sanders are designed specifically for sanding:
- Provide consistent, even pressure for large surfaces
- Typically faster due to their larger sanding pads
- Various types (orbital, belt, disc) specialized for different tasks
When considering performance and versatility, assess the project scope. Traditional sanders excel in large-scale and specialized sanding tasks. Drill sanders shine in precision work and flexibility.
Pros And Cons For Diy Projects
| Aspect | Drill Sander | Traditional Sander |
|---|---|---|
| Cost | Cost-effective, no need to purchase a standalone sander | Cost varies with sander type; can be a significant investment |
| Convenience | Highly convenient for those who already own a drill | May require additional storage space, less portable |
| Usability | Requires practice to master even pressure and control | User-friendly, designed for specific sanding tasks |
DIY enthusiasts should weigh these pros and cons before starting their projects. Think about cost, convenience, and the learning curve. Drill sanders might be a clever hack for some, while traditional sanders could be the go-to for consistent, heavy-duty work.
Frequently Asked Questions Of Use Drill As Sander
Can A Drill Be Used For Sanding?
Yes, a drill can be used for sanding by attaching a sanding bit or drum.
Can I Use A Drill Press As A Sander?
Yes, you can use a drill press as a sander by attaching a sanding drum accessory.
How Do You Attach A Sanding Disk To A Drill?
Select the appropriate size sanding disk for your project. Attach a specialized sanding disk attachment to the drill. Ensure the sanding disk firmly adheres to the attachment pad. Secure the disk by pressing down evenly for a solid attachment. Start sanding by using the drill at moderate speed for control.
Can You Grind With A Drill?
Yes, you can grind with a drill by using appropriate grinding accessories that fit the drill’s chuck.
Can You Use Any Drill As A Sander?
Yes, most power drills can be adapted with a sanding attachment to function as a sander.
Conclusion
Utilizing a drill as a sander is an efficient hack for small projects and quick fixes. This method can save time and space in your workshop. By employing the right attachments, your drill can tackle a variety of sanding tasks.
Always prioritize safety and proper technique to achieve the best results. Equip yourself with these tips, and your drill could become the versatile power tool you never knew you needed. Remember, a little creativity goes a long way in the DIY realm!

Passionate Bowler and Bowling Enthusiast
Jess Pinelli is a dedicated bowling enthusiast with a deep love for the sport that spans over 6 years. With numerous strikes, spares, and a few gutter balls under hes belt, he has honed his skills on lanes across the country. Pinelli’s journey in the world of bowling has been a remarkable one, from casual weekend games with friends to competitive league play and even a few local tournaments.
Driven by her passion for the game, Pinelli decided to channel her expertise and knowledge into the digital realm, becoming a prolific author on this bowling website. She’s your go-to source for everything bowling-related, from mastering the perfect hook to choosing the right bowling ball and even navigating the world of bowling etiquette.
When she’s not busy writing informative articles or reviewing the latest bowling gear, you’ll likely find Pinellis at her favorite local bowling alley, helping newcomers improve their game or enjoying some friendly competition with fellow bowlers. She firmly believes that bowling is not just a game but a community, and she’s committed to fostering that sense of camaraderie both online and offline.