How to Draw a Bowling Lane: Sketch Strike Success
To draw a bowling lane, first sketch a long, narrow rectangle. Then, add arrow markings near the front and dots down the center for aiming guides.
Crafting engaging and informative content for those interested in bowling or artistic representation is key to providing value to readers searching for “How to Draw a Bowling Lane. ” Whether for educational purposes, sports enthusiasts, or artists looking to expand their portfolio, understanding the structure and elements of a bowling lane is fundamental.
This guide will help create a visual structure that not only entertains but also educates on the intricacies of bowling lane design. Drawing a bowling lane can also serve as a creative project or an addition to a themed illustration, offering a slice of the exciting world of bowling through art.
Gathering Your Drawing Materials
Before starting your artistic journey towards creating a bowling lane on paper, gather the right materials. Quality supplies make the process smoother and your artwork more precise. Let’s get everything you need to draw a perfect bowling lane.
Choosing The Right Paper And Pencils
Selecting the appropriate paper ensures your drawing doesn’t smudge or bleed through. Aim for medium-weight paper that can handle erasing without tearing. For your pencils, a range of HB to 6B will offer diversity in lines and shades. Thicker leads are ideal for the darker areas, while lighter leads work for details.
| Pencil Type | Usage |
|---|---|
| HB | General outlining |
| 2B-4B | Shading and texturing |
| 6B | Dark shadows |
Optional Tools For Precision
For an accurate depiction, consider using additional tools. A ruler helps with straight lines. A compass is great for the bowling ball. An eraser is essential for corrections, and a sharpener keeps pencils in good shape. These tools elevate your drawing precision.
- Ruler – straight lane borders
- Compass – perfect circles
- Eraser – mistake-free work
- Sharpener – fine lines
Basic Structure Of A Bowling Lane
Every bowler steps onto the lane with anticipation. But what makes this game tick is its playing ground – the bowling lane. Drawing the intricate details of a bowling lane adds life to its portrayal, from markers to dimensionally accurate boards.
Understanding Lane Dimensions
The lane dimensions form the canvas for your drawing. A professional bowling lane measures 60 feet from the foul line to the center of the headpin. With a width of 42 inches, the lane offers a slim corridor for the ball to travel. But don’t forget the approach area and the pin deck – both crucial to the lane’s layout.
| Part | Length | Width |
|---|---|---|
| Approach Area | 15 feet | 42 inches |
| Lane | 60 feet | 42 inches |
| Pin Deck | 3 feet, 6 inches | 60 inches |
Initial Guidelines And Perspective
Drawing a lane with the correct perspective is key to realism. Start with a horizon line for reference. From here, draw two vanishing points on either end of the horizon. Connect these points with a straight line, simulating the lane’s length. Then sketch in the bowling lane’s width, being mindful of the perspective. These lines tether the drawing to reality.
- Horizon Line: Ensures accurate perspective.
- Vanishing Points: Form the lane’s convergence.
- Connecting Lines: Represent the lane’s length.
Drawing The Approach
Let’s talk about visually crafting the start of a thrilling bowling experience. Drawing the approach is the first step to creating a realistic alley. Here, details matter as this is where players begin their stride and release. Let’s get started with the starting area.
Sketching The Starting Area
Begin with drawing the approach’s outline. This is where bowlers take their initial steps. Imagine it as a long rectangle, extending from the edge of your page. Keep the lines straight and the corners sharp. Accuracy is key, as this sets the stage for the entire lane.
Adding Texture To The Approach
Next, let’s give the approach some texture. A bowling lane’s approach has tiny, distinctive brush lines that help bowlers keep their footing. Use light pencil strokes to create these. Focus on the direction and flow, ensuring they are uniform. This attention to detail will bring your drawing to life.

Credit: www.facebook.com
The Lane And Pins
Welcome to the world of bowling artistry! In this section, we will guide you through the delightful process of drawing a bowling lane and the iconic pins. Perfect for enthusiasts and artists alike, these easy-to-follow steps will help you create your very own bowling alley scene.
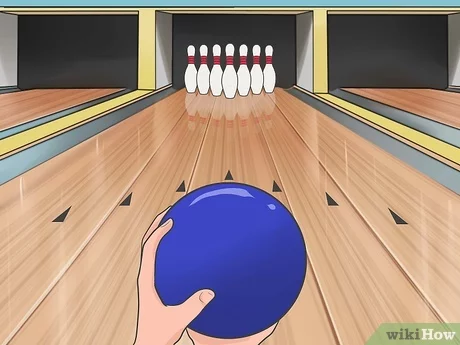
Creating The Lane Surface
Imagine the glossy, polished surface of a bowling lane. It’s time to bring that vision to paper! Start by drawing two parallel, elongated rectangles. They represent the lane’s boundaries. Ensure the lanes are not too wide; they’re sleek and long.
Inside this rectangle, illustrate the wood planks or synthetic surface with fine lines. These lines run along the length of the lane. For a realistic touch, shade the lane lightly. Use pencil strokes for a smooth finish.
To complete the surface, don’t forget the approach area and foul line at the front. For the approach, extend a shorter rectangle ahead of the lane. Mark the foul line with a dash across the lane’s width.
Positioning The Bowling Pins
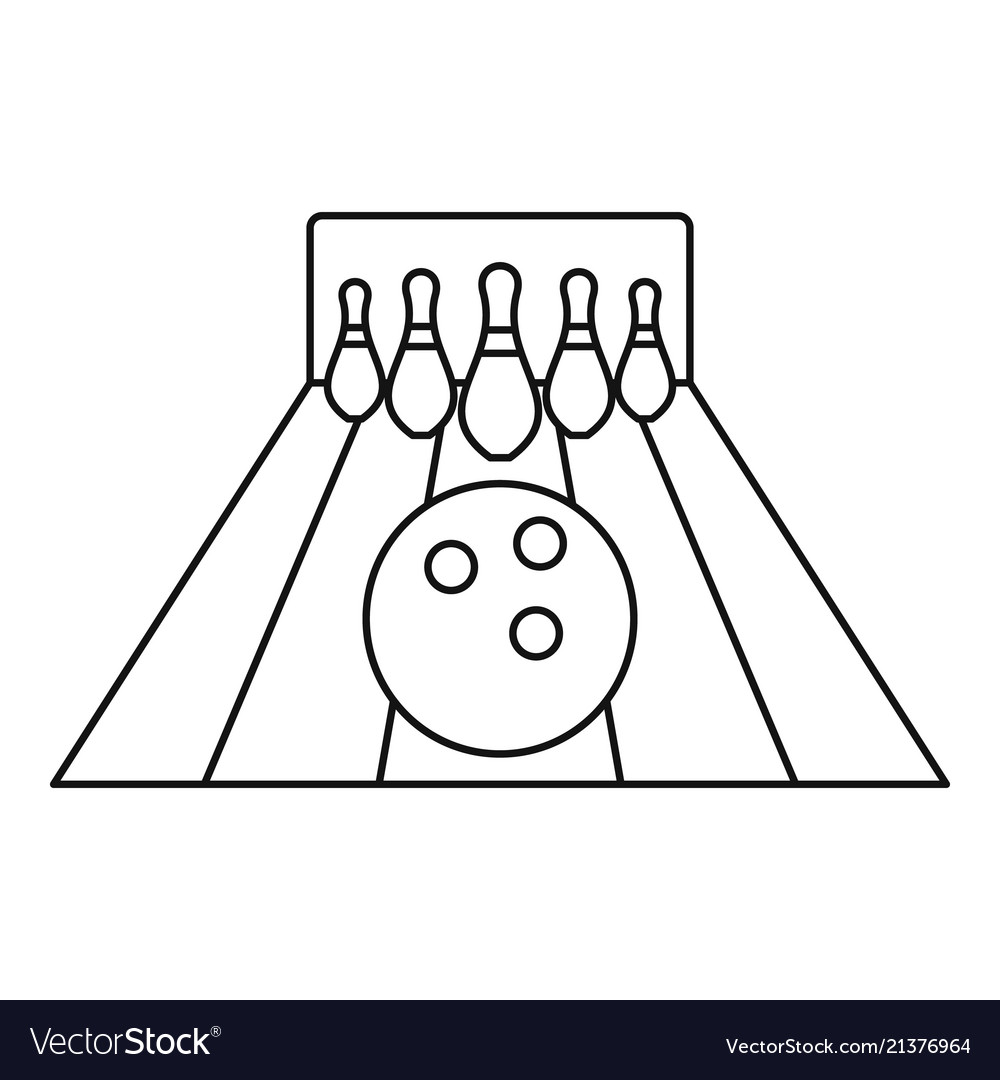
Each bowling pin is a symbol of challenge and victory. Placing them correctly is key. We start by drawing a triangular guide atop the lane. The triangle is the pin deck. It’s invisible in the real game, but crucial for our art.
Mark ten spots in a 4-3-2-1 arrangement. These points are where your pins will stand. Begin drawing your pins from the top point. They have a curvy shape, wide at the base and slim at the neck. Then a rounded head.
The front pin, known as the head pin, is vital. Make sure it’s directly aligned with the middle of the lane. The rest of the pins should follow the points of your triangle. Observe the equal spacing between each pin for accuracy.
Details And Markings
Drawing a bowling lane accurately involves paying attention to details and markings. These include arrows, dots, and specific areas such as the gutters and the back end. Understanding these elements is crucial for an authentic illustration. Let’s walk through each marking to ensure your drawing stands out with realism.
Adding Arrows And Marks
Bowling lanes have distinct arrows and dots that guide players on where to aim. These markings are not just for decoration but serve a practical purpose in the game. To capture these in your drawing, follow these bullet points:
- Draw a set of arrows around 15 feet from the foul line. They form a ‘V’ shape pointing towards the bowler.
- Seven arrows should be placed on the lane, equally spaced across its width.
- Include five dots before the arrows, closer to the foul line, for additional reference points.
Arrows are usually depicted in a triangular formation. Here’s a simple representation:
| Arrow 1 | Arrow 2 | Arrow 3 | Arrow 4 (center) | Arrow 5 | Arrow 6 | Arrow 7 |
Defining The Gutters And Back End
Gutters are the sunken channels on both sides of a bowling lane. They are essential to indicate in your drawing:
- Draw two parallel lines along the entire length of the lane.
- Ensure these lines are a bit thinner than the main lane to depict depth.
- Fill in the gutters with a darker shade to differentiate from the lane.
The back end, also known as the pin deck, is where pins are arranged. It is slightly wider:
- Mark the back end with a horizontal line across the lane’s width.
- Use a ruler to keep the lines straight and symmetrical.
Include these details, and your drawing will have the precision needed to resemble a real bowling lane. Each mark enhances the accuracy of your artistic creation!

Credit: www.rollingstone.com
Final Touches
The ‘Final Touches’ conclude the artistic journey of drawing a bowling lane. Perfect the presentation and bring the sketches to life with these steps.
Erasing Guidelines And Refining Shapes
With the main elements of the bowling lane in place, it’s time to clean up the drawing:
- Gently erase any extra lines.
- Ensure gutters and arrows are crisp and well-defined.
- Review the proportions to make adjustments as needed.
Shading And Coloring The Drawing
To bring your drawing to life, focus on shading and coloring:
- Select colors that mirror a real bowling lane.
- Shade with care, highlighting the wooden texture.
- Add shadows under the pins to ground them.
- Keep the gutters and background muted.
Remember, the right contrast and vibrant hues make the lanes pop off the page.
Credit: www.newyorker.com
Frequently Asked Questions On How To Draw A Bowling Lane
How Do You Draw A Simple Bowling?
Start by drawing a rectangular shape for the bowling lane. Draw three finger holes on a round shape for the ball, and add a pin shape at the end.
How Do You Start A Bowling Lane?
To start a bowling lane, conduct market research, develop a business plan, secure funding, find a suitable location, and obtain necessary equipment and permits.
How Do You Read A Bowling Lane Pattern?
To read a bowling lane pattern, examine the oil distribution diagram, noting the length and volume of oil. Focus on the transitions between oiled and dry areas to adjust your starting position and ball trajectory. Assess the pattern’s ratio to predict ball behavior on the lane.
What Are The Dimensions Needed For Bowling Lane?
The standard dimensions for a bowling lane are 60 feet in length from the foul line to the head pin, and 41. 5 inches in width.
What Are Bowling Lane Dimensions?
Standard bowling lanes typically measure 60 feet in length from the foul line to the first pin, with a width of approximately 41 to 42 inches.
Conclusion
Wrapping up, mastering the art of drawing a bowling lane is both enjoyable and straightforward with these steps. Whether you’re a seasoned artist or a casual doodler, you now have the tools to create a striking depiction that’s sure to impress.
Remember to practice and experiment with different perspectives to enhance your skills further. Roll out your newfound knowledge and sketch a perfect strike in your drawing repertoire!

Passionate Bowler and Bowling Enthusiast
Jess Pinelli is a dedicated bowling enthusiast with a deep love for the sport that spans over 6 years. With numerous strikes, spares, and a few gutter balls under hes belt, he has honed his skills on lanes across the country. Pinelli’s journey in the world of bowling has been a remarkable one, from casual weekend games with friends to competitive league play and even a few local tournaments.
Driven by her passion for the game, Pinelli decided to channel her expertise and knowledge into the digital realm, becoming a prolific author on this bowling website. She’s your go-to source for everything bowling-related, from mastering the perfect hook to choosing the right bowling ball and even navigating the world of bowling etiquette.
When she’s not busy writing informative articles or reviewing the latest bowling gear, you’ll likely find Pinellis at her favorite local bowling alley, helping newcomers improve their game or enjoying some friendly competition with fellow bowlers. She firmly believes that bowling is not just a game but a community, and she’s committed to fostering that sense of camaraderie both online and offline.