Resurfacing bowling ball at home! Welcome to your comprehensive guide on how to resurface a bowling ball at home! Are you tired of spending money on getting your bowling ball professionally resurfaced? Well, what if we told you that you can do it yourself at home?
That’s right! In this blog post, we’ll walk you through the step-by-step process of resurfacing your bowling ball in the comfort of your own garage. From gathering the necessary tools to applying the perfect grit, we’ve got you covered. So grab your ball and let’s get started on giving it a brand new surface!

Credit: www.amazon.com
Why Resurface Your Bowling Ball?
Over time, bowling balls lose their shine and performance. Resurfacing helps them roll true and strike hard. It’s a money-saver too!
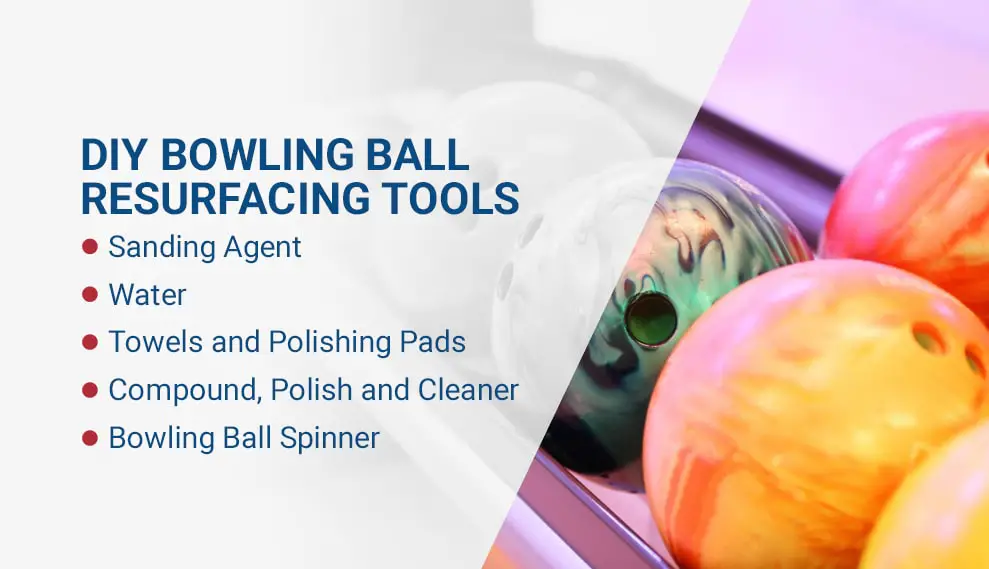
Supplies You’ll Need
Gather these items before you start:
- Resurfacing Kit or Abralon Pads
- Clean, Dry Towels
- A Bowl of Water
- A Ball Spinner (optional)
- Plastic Bag or Ball Plug
- Ball Cleaner
Step-by-Step Process:
- Clean the Ball – Give your ball a good wipe. Use cleaner to remove oil and dirt.
- Protect the Fingers Holes – Use a plastic bag or ball plug to stop water from getting in.
- Start with Lower Grit Pad – Use around 500 grit if your ball is super dull.
- Wet Sanding Technique – Keep the pads and ball wet to avoid heat and damage.
- Move in Circular Motions – Sand evenly across the whole ball. A spinner can help here.
- Progress Through Grits – Go higher, maybe up to 2000 grit, for a smooth finish.
- Clean Again – Wipe the ball. Be sure it’s totally clean from all that sanding dust.
- Optional Polish – If you want more shine and skid, apply a bowling ball polish.
- Dry and Inspect – Dry the ball. Check your work to make sure you’ve done it evenly.
Sanding Grits and Their Effects
Choosing the right sanding grit is key. See how different grits change the ball’s reaction:
| Grit Level | Effect on Bowling Ball |
|---|---|
| 500 | Makes the ball grip the lane more |
| 1000 | Great for a controlled hook |
| 2000 | Gives a smooth roll and finish |
| 3000 and Above | Increases length and backend reaction |

Credit: m.youtube.com
Common Mistakes to Avoid
Watch out for these errors:
- Not cleaning the ball first
- Skipping grits instead of progressing through them
- Using too much pressure while sanding
- Missing spots, leading to an uneven surface
- Forgetting to seal the finger holes against water
Doing It Without a Ball Spinner
Ball spinners are helpful but not a must. You can use your hands to rotate the ball. Just be consistent.
Maintaining Your Resurfaced Ball
After resurfacing, give your ball regular care. Clean it after every play. Maybe resurface again every 60 games.
Final Tips
Practice makes perfect. Try this process a few times to get the hang of it. Remember, an even, smooth ball roll makes for happy bowling!
By following this guide, you’re stepping up your game in no time! Your friends will notice the difference. And maybe, just maybe, you’ll bowl that perfect game.
Ready To Strike More Often? Start Resurfacing And Watch Your Scores Soar!
Frequently Asked Questions Of Resurfacing Bowling Ball At Home: Easy Diy Shine-up!
Can You Resurface A Bowling Ball At Home?
Absolutely, resurfacing a bowling ball at home is doable with the right equipment and technique, offering a cost-effective alternative to professional services.
What Materials Are Needed To Resurface A Bowling Ball?
You’ll need a few basic items: abrasive pads of varying grit, a ball spinner or a manual alternative, clean towels, and water or ball cleaner.
How Often Should You Resurface Your Bowling Ball?
Bowling ball resurfacing frequency depends on usage, but a general guideline is to do it after every 60 to 70 games to maintain optimal performance.
Does Resurfacing A Bowling Ball Affect Its Lifespan?
Resurfacing can actually extend a bowling ball’s lifespan by refreshing the reactive surface, helping it maintain traction and hitting power.
What Is The Process Of Resurfacing A Bowling Ball?
The process involves cleaning the ball, sanding it in a progressive manner with increasing grit levels, and then polishing, if desired, for a smoother finish.
Conclusion
Resurfacing your bowling ball at home can be a cost-effective way to maintain its performance and extend its lifespan. By following the proper techniques and using the right materials, you can restore your ball’s surface to its original condition, allowing for better grip and increased hook potential. Whether you’re a casual bowler or a competitive player, taking the time to resurface your bowling ball can help improve your game and ensure consistent results on the lanes. If you’re interested in learning more about how to resurface your bowling ball at home, be sure to check out our other resources on this topic. Happy bowling!

Passionate Bowler and Bowling Enthusiast
Jess Pinelli is a dedicated bowling enthusiast with a deep love for the sport that spans over 6 years. With numerous strikes, spares, and a few gutter balls under hes belt, he has honed his skills on lanes across the country. Pinelli’s journey in the world of bowling has been a remarkable one, from casual weekend games with friends to competitive league play and even a few local tournaments.
Driven by her passion for the game, Pinelli decided to channel her expertise and knowledge into the digital realm, becoming a prolific author on this bowling website. She’s your go-to source for everything bowling-related, from mastering the perfect hook to choosing the right bowling ball and even navigating the world of bowling etiquette.
When she’s not busy writing informative articles or reviewing the latest bowling gear, you’ll likely find Pinellis at her favorite local bowling alley, helping newcomers improve their game or enjoying some friendly competition with fellow bowlers. She firmly believes that bowling is not just a game but a community, and she’s committed to fostering that sense of camaraderie both online and offline.


